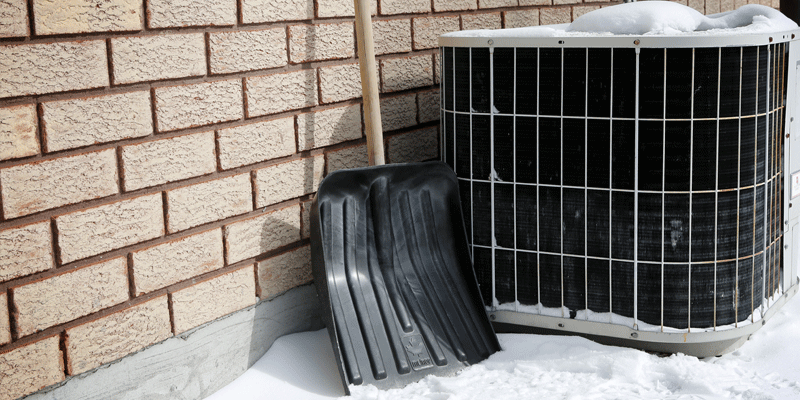
Clean It Out
It may seem counterintuitive, but you should clean out your AC just as you would the lint trap on a clothes dryer. The outdoor unit is especially prone to collecting debris that can lead to further damage. Leaves, grass clippings, and other debris are sharp enough to damage your unit’s blower and compressor fans.
If you’ve never cleaned the unit, it’s important that you do so before winter to avoid damage. Once your system is turned off for the season, inspect the outside and remove anything that could cause damage when in operation. Be sure to wear gloves and a mask when doing this work. Use a broom and stiff bristle brush to clean out the unit.
Inspect and Test It
Once you’ve cleaned your outdoor AC, it’s time to inspect and test it. This will alert you to any damage that may need repair or replacement before turning on your system again in spring. Most units have a circuit breaker that allows you to turn off the power before removing panels. This can prevent further damage and electrical shock if you’re not skilled with electricity.
Once panels are removed, it’s time to inspect the unit. Look for corrosion along with damage to the fan blades, freon coils, and electrical wiring. If there is damage, that’s a sign that it needs attention before operating your AC again.
Once you’re done inspecting the unit, test it out. Most units have a simple dial or switch to enable power flow. Check for airflow coming from vents around your home to make sure the unit is working properly and that there’s no air leakage.
If you find issues with your outdoor AC, contact a heating and air conditioning professional for help.
Protect It from the Elements
Your AC will likely survive harsh winter conditions if you prepare it before cold temperatures set in. However, it may not function as well as it should.
Cover the Unit with Plastic Sheeting
The first step to protecting your outdoor AC is covering it with a tarp or plastic sheeting. This will prevent rust and corrosion as well as keep leaves and other debris from collecting on the unit. Cover one side of the unit at a time, folding up an end to allowing for airflow.
Remove the Drain Plug to Prevent Freezing
Your outdoor AC may have a drain plug in the base of the unit so that any condensation can run out. If it does, be sure this is removed during cold months to prevent freezing and further damage. If your unit doesn’t have a drain plug, you should still remove any water that collects in the bottom of the unit.
Disconnect Power Before Filling with Anti-freeze
Many units have a reservoir for anti-freeze, an additive to keep it from freezing during cold weather. If you have this, be sure to fill it before turning off power to your AC. Most outdoor AC units are hardwired onto your home’s electrical system. Never work with electricity unless you’re an authorized professional.
Place It on Cinder Blocks or Make Some Shelves to Elevate It
Finally, if you don’t want to place your outdoor AC unit on the ground, elevate it by placing it on cinder blocks. If the unit has wheels, you should use them to move it off the ground. Even better, consider making some shelves for your AC unit to sit on before winter strikes.
If you have an older model outdoor AC, be sure to check with a professional about whether or not you need anti-freeze. Older units may not have it.
Contact a Heating and Air Conditioning Professional
If you have any questions or need help preparing your outdoor AC unit, contact a heating and air conditioning professional. They will be able to inspect your unit and replace any damaged components before winter comes. Keeping your outdoor AC in good shape can make all the difference during chilly months when you want to be warm and comfortable at home.
If you’re looking for a professional heating and air conditioning team, contact us today. We can help keep your home comfortable year-round!
